Table of Contents
Ever wanted to screen record on Android? It’s useful for tutorials, recording games, or saving video calls. This guide will show you how to screen record on Android using built-in tools and apps. It’s easy to capture your screen when you need to.
Recording your Android screen is now more popular. It lets you share or save screen activity easily. This article will cover different ways to record your screen on Android. You’ll find the best method for you.
Key Takeaways
- Learn how to use Android’s built-in screen recording feature
- Discover top third-party apps for screen recording on Android
- Understand the features to look for in screen recording apps
- Set up your Android device for optimal screen recording
- Follow a step-by-step guide to start, stop, edit, and share your screen recordings
Built-in Screen Recording Feature on Android
Many recent Android devices have a built-in android screen recording feature. This makes it easy to capture your screen without extra apps. It’s a simple way to make an android screencast.
To find the screen recording feature, swipe down from the top of your screen. Look for the “Screen Record” icon, which might look like a camera or a recording symbol. If you can’t find it, tap the edit button to add it to your Quick Settings.
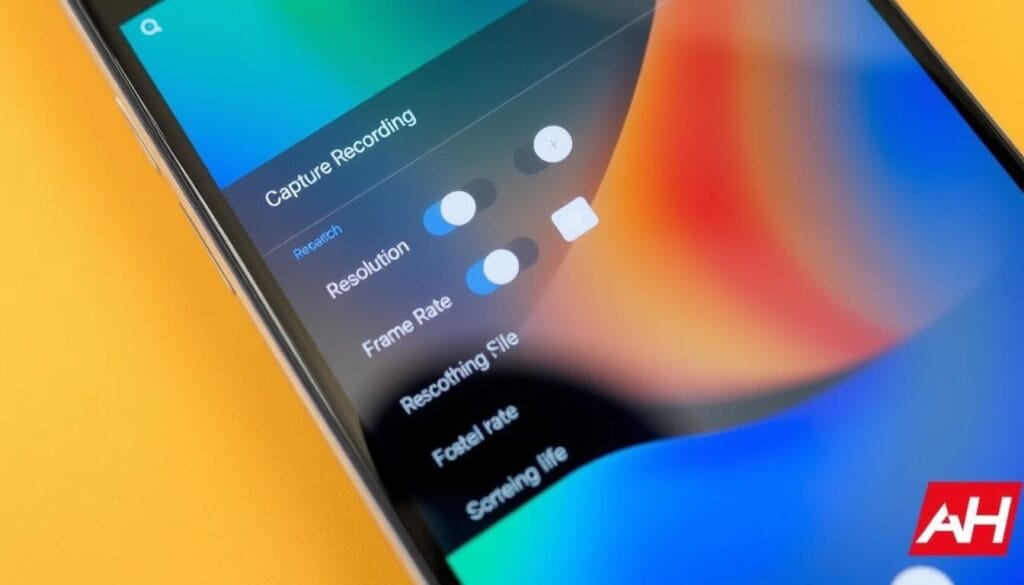
When you tap the “Screen Record” icon, you can customize your recording. You can choose to record audio, show touches on the screen, or set a countdown timer. The options might change based on your device and Android version.
| Device | Android Version | Built-in Screen Recording |
|---|---|---|
| Google Pixel 4 and newer | Android 11 and up | Yes |
| Samsung Galaxy S20 and newer | One UI 2.5 and up | Yes |
| OnePlus 7 and newer | OxygenOS 10 and up | Yes |
After setting your preferences, tap “Start” to start recording. A small icon will show in the top-right corner of your screen. It means the android screen mirroring is working. To stop, tap the icon and choose “Stop.” Your video will be saved in your device’s gallery for viewing, editing, and sharing.
Using Solu-Tech’s app for Screen Recording
If your Android device doesn’t have a built-in screen recording feature, or if you need more advanced options, Solu-Techs offers a free android screen recording app available on the Google Play Store.
You can click on the icon below to download our Screen Recording app:


Features to Look for in Screen Recording Apps
When choosing an android screen recording software, consider the following features:
| Feature | Description |
|---|---|
| Resolution | Look for apps that support high-resolution recording, such as 1080p or even 4K. |
| Audio Recording | Choose an app that allows you to record audio from your device’s microphone, internal audio, or both. |
| Customization | Opt for apps that offer customizable settings, such as video quality, bitrate, and frame rate. |
| Editing Tools | Some apps provide basic video editing tools, like trimming and adding text or annotations. |
| Ease of Use | Select an app with a simple, intuitive interface for a smooth screen recording experience. |
By considering these features and exploring the various options available, you can find the perfect android screen recording apps to suit your needs and preferences.
Setting Up Your Android Device for Screen Recording
Before you start recording your Android screen, make sure your device is set up right. You need to turn on developer options and give the screen recording app the right permissions. This will help you capture your screen smoothly and without trouble.
Enabling Developer Options
To get to the advanced settings and start screen recording, you first need to unlock developer options. Here’s how:
- Open your device’s “Settings” app
- Scroll down and tap on “About phone” or “About device”
- Look for “Build number” and tap it 7 times in a row
- You’ll see a message saying “You are now a developer!”
- Go back to the main settings menu and find “Developer options”
After you’ve turned on developer options, you can give the screen recording app the permissions it needs.
Granting Necessary Permissions
To record your Android screen smoothly, you must give the screen recording app some permissions. The exact permissions depend on the app, but you usually need to:
- Allow the app to use your device’s storage
- Give permission to record audio (if you want sound in your recordings)
- Let the app show over other apps (for smooth recording)
To manage these permissions, go to your device’s settings, pick the screen recording app, and adjust the permissions as needed.
| Permission | Purpose |
|---|---|
| Storage | Allows the app to save recorded videos on your device |
| Microphone | Enables the app to record audio along with the screen |
| Display over other apps | Ensures uninterrupted recording even when using other apps |
By turning on developer options and giving the right permissions, your Android device is ready for easy screen recording. With these settings, you can easily capture your Android display and make top-notch video content.
Step-by-Step Guide: how to screen record on android
Now that your Android device is ready for screen recording, let’s get started. This guide will show you how to start, stop, and save your recordings. You’ll also learn about basic editing and sharing options.
Starting the Screen Recording
To start recording your screen, open the Quick Settings panel. Tap the Screen Record icon. You might need to confirm the recording or adjust settings like audio capture. Tap the Record button to start.
Stopping and Saving the Recording
To stop recording, tap the Stop button in the notification bar or the floating control widget. Your device will save the video in your gallery or the location you set in the settings.
Editing and Sharing the Recorded Video
After saving, you can edit and share your video on your Android device. Open the video in your gallery app. Use the editing tools to trim, crop, or add effects. Once you’re happy with it, share the video via email, social media, or messaging apps.
FAQ
How do I access the built-in screen recording feature on my Android device?
To use the built-in screen recording on your Android, swipe down from the top of the screen. Look for the Screen Record icon. It might be hidden in the expanded view. If you can’t find it, you’ll need a third-party app.
What are some popular third-party screen recording apps for Android?
Popular apps include AZ Screen Recorder, ADV Screen Recorder, Mobizen Screen Recorder, and DU Recorder. They offer various features and are on the Google Play Store.
What features should I look for in a screen recording app?
Look for apps that record audio and let you adjust video settings. They should also allow you to trim and share recordings. Some apps have extra features like facecam recording and drawing on the screen.
How do I enable developer options on my Android device?
To enable developer options, go to Settings > About phone > Software information. Tap the Build number seven times. Then, you can find Developer options in Settings.
Why do I need to grant permissions for screen recording apps?
Apps need permissions to work, like access to storage and the microphone. These permissions let the app record your screen and save it. They also allow for audio or facecam recording.
How do I start and stop a screen recording on my Android device?
To start recording, tap the Screen Record icon or open your app and tap record. To stop, tap the Stop icon in the notification bar or the app’s stop button.
Can I edit my screen recordings on my Android device?
Yes, many apps let you trim and add text or stickers to recordings. Some even let you merge recordings or add music. For more editing, use a video editing app or transfer the recording to your computer.
You can read more how-to guides by clicking here.