Table of Contents
Are you wondering how can you replace a motherboard Capacitor? I love exploring how electronic devices work. My desktop computer started acting weird, so I looked into it. I found out a faulty motherboard capacitor might be the problem. It’s a small part but very important for your computer’s performance.
Opening up your computer can seem scary. But don’t worry, I’ve got you covered. In this guide, I’ll show you how to replace a motherboard capacitor step by step. It doesn’t matter if you’re experienced or just starting out. You’ll learn how to fix your computer’s motherboard issue.

Key Takeaways
- Understand the function and importance of motherboard capacitors
- Identify common signs of capacitor failure
- Gather the necessary tools and materials for a successful capacitor replacement
- Follow a step-by-step guide to safely replace a faulty motherboard capacitor
- Implement preventive measures to prolong the lifespan of your computer’s capacitors
Are you ready to fix your motherboard capacitor? Let’s start this DIY project. We’ll make your computer run smoothly and efficiently.
Understanding Motherboard Capacitors and Their Function
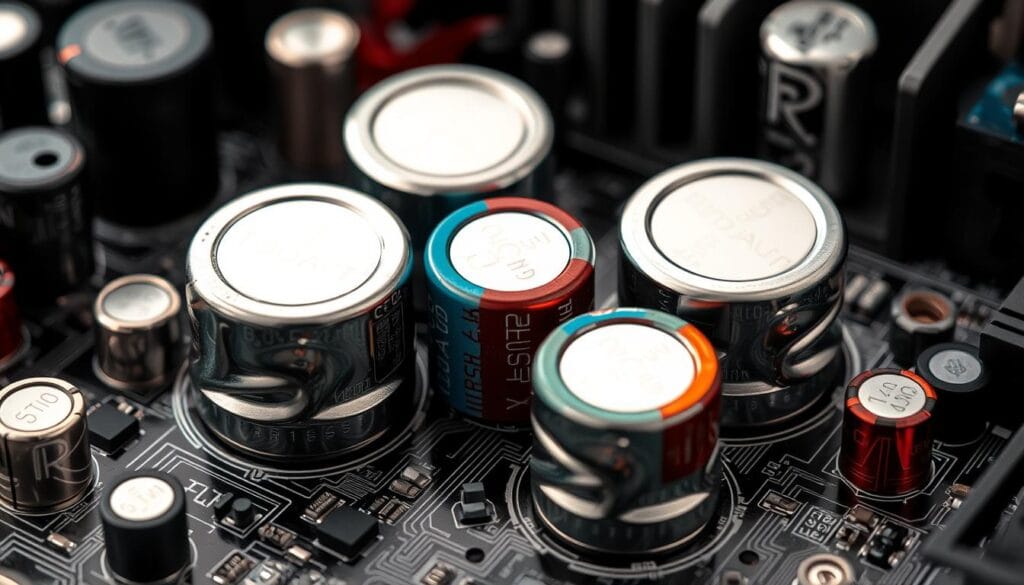
Motherboard capacitors are key to your computer’s performance and stability. They help control voltage and store electrical charge. This ensures your computer’s parts get the power they need to work right.
Types of Capacitors Found on Motherboards
Motherboards have different types of capacitors. These include:
- Electrolytic capacitors: They filter and smooth power supply voltages.
- Ceramic capacitors: They handle high-frequency decoupling and noise suppression.
- Tantalum capacitors: They offer high capacitance in a small package, often for power supply filtering.
Common Signs of Capacitor Failure
Capacitors can fail due to age, heat, or electrical stress. Signs of a bad capacitor on motherboard include:
- Bulging or leaking capacitor tops
- Discoloration or corrosion around the capacitor
- Unexpected system crashes, freezes, or random reboots
- Sudden power-on issues or the inability to boot the system
How Capacitors Impact System Performance
Faulty or motherboard capacitor issues can harm your computer’s performance and stability. A bulged capacitor or one nearing the end of its life can cause voltage fluctuations. This can lead to system crashes, data corruption, and hardware malfunctions.
Fixing these replace bulged capacitor problems quickly is essential. It keeps your system reliable and working well.
Can You Replace a Motherboard Capacitor
Replacing a capacitor on a motherboard is a delicate task. It needs technical expertise. Some DIY enthusiasts might try it, but it’s risky. You should think carefully before trying to replace a motherboard capacitor.
First, understand the problem with your motherboard capacitor. If it’s faulty or leaking, you might be able to replace it. But, if other parts are the issue, just replacing the capacitor won’t fix it.
- Proper diagnosis is crucial before attempting a motherboard capacitor replacement.
- Identifying the root cause of the problem can help determine if a DIY repair is advisable or if professional assistance is required.
- Attempting to replace a motherboard capacitor without the necessary skills and tools can potentially cause further damage to the motherboard, leading to more costly repairs.
If you still want to replace the motherboard capacitor, know your soldering skills. You also need to handle delicate parts carefully. Mistakes can lead to short circuits, damage, or even a failed motherboard.
In summary, replacing a motherboard capacitor is doable for skilled DIYers. But, it’s important to assess the situation, diagnose the problem, and decide if the risks are worth it. Often, it’s safer to get a professional to ensure your system’s safety and reliability.
Essential Tools and Materials for Capacitor Replacement
Replacing a motherboard capacitor needs specific tools and materials. Make sure you have the right equipment for a safe and successful replacement. Here’s what you’ll need.
Required Safety Equipment
- Anti-static wrist strap or mat to prevent static electricity discharge
- Protective eyewear to shield your eyes from solder splatter and debris
- Tweezers or small pliers for handling delicate components
Soldering Equipment Checklist
- Soldering iron with appropriate wattage for your project
- Rosin-core solder specifically designed for electronics work
- Desoldering pump or wick to remove old solder
- Magnifying glass or inspection light for precise soldering
Choosing the Right Replacement Capacitor
When picking a replacement capacitor, match its voltage, capacitance, and size to the original. Check the motherboard’s specs or the capacitor’s markings. This ensures the right part and avoids motherboard capacitor replacement problems.
| Capacitor Specification | Original Capacitor | Replacement Capacitor |
|---|---|---|
| Voltage | 16V | 16V |
| Capacitance | 1000μF | 1000μF |
| Physical Size | 8mm x 12mm | 8mm x 12mm |

With the right tools and materials, including the correct capacitor leaking fix replacement, you’re ready for the motherboard capacitor replacement.
Step-by-Step Motherboard Capacitor Replacement Process
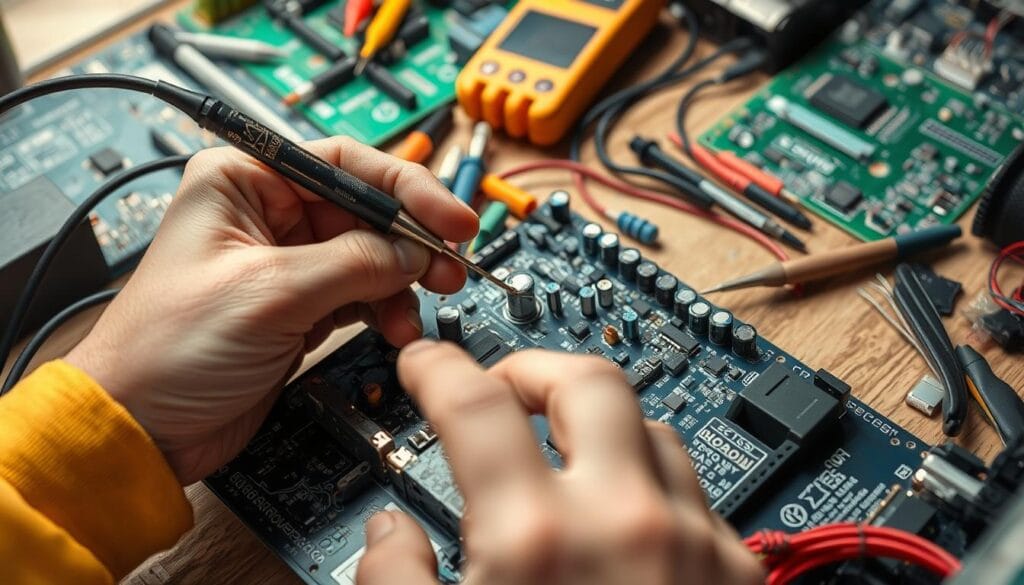
Replacing a faulty motherboard capacitor is a delicate task. But, with the right tools and technique, it’s doable as a DIY project. This guide will help you through the whole process, whether you’re fixing, repairing, or replacing a capacitor.
First, make sure you have the right safety gear. This includes anti-static gloves and a well-ventilated area. You’ll also need a soldering iron, solder, and a desoldering tool or solder sucker to remove the old capacitor.
- Find the faulty capacitor on your motherboard. It might be swollen, leaking, or look discolored.
- Turn off the power and ground yourself to avoid static damage.
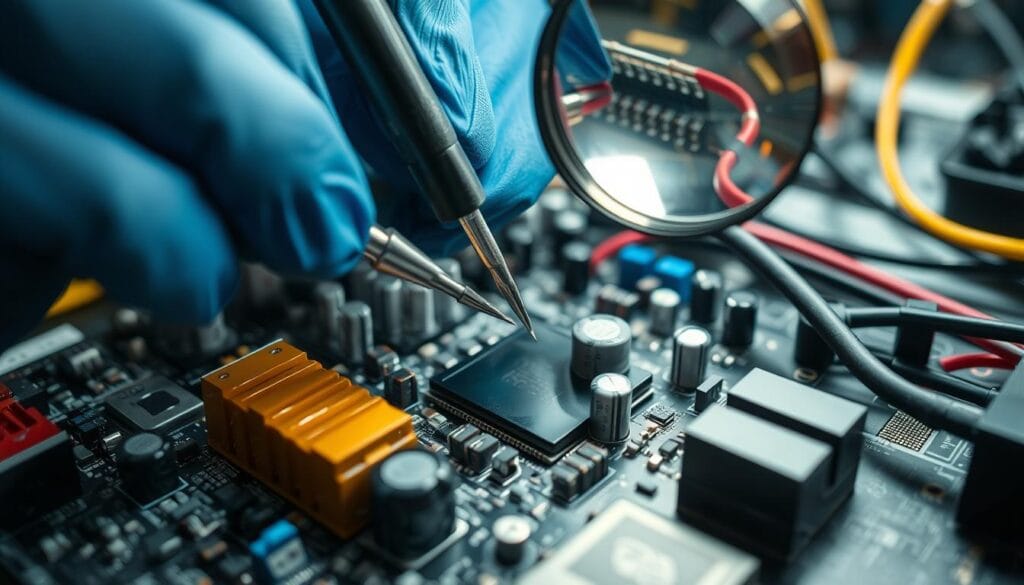
- Use the desoldering tool or solder sucker to remove the old capacitor. Be careful not to damage nearby components.
- Clean the area well, using a solvent-soaked cloth to remove any solder or residue.
- Choose the right replacement capacitor, matching the original’s specifications.
- Place the new capacitor and solder it in, making sure to get the polarity right.
- Turn the power back on and test the system. This will show if the fix motherboard capacitor replacement worked.
By following these steps, you can fix a faulty capacitor and get your motherboard working well again. Remember to be careful and take your time. Proper technique is key for a successful replace bulged capacitor project.

Preventing Future Capacitor Issues and Maintenance Tips
Keeping your motherboard’s capacitors healthy is key to your system’s long-term performance. By following a few simple steps, you can avoid motherboard capacitor issues and make your computer last longer.
Regular Maintenance Guidelines
Check your motherboard often for signs of capacitor failure, like capacitor swelling or leakage. Also, keep your computer’s inside clean and free of dust. This helps prevent overheating and capacitor failures.
Environmental Factors Affecting Capacitor Lifespan
High temperatures and humidity can harm your motherboard capacitors. Make sure your computer is in a cool, dry place. This helps keep your capacitors working longer.
Quality Considerations When Buying Replacement Parts
When you need to replace a capacitor, choose a high-quality, right-fit part. Go for capacitors from trusted brands. Avoid cheap, generic ones that might not work well. Good quality parts mean fewer capacitor swelling replacement problems later.
| Maintenance Tip | Description |
|---|---|
| Regular Inspection | Visually inspect motherboard for signs of capacitor failure, such as swelling or leakage. |
| Internal Cleaning | Keep computer’s internal components clean and dust-free to prevent overheating. |
| Environmental Control | Maintain a well-ventilated, temperature-controlled environment for your computer. |
| Quality Replacement Parts | Choose high-quality, compatible capacitors from reputable manufacturers. |
Conclusion
This guide shows that replacing a motherboard capacitor is doable for those with the right skills and tools. You can learn about motherboard capacitors, spot when they fail, and replace them step by step. This can help your computer’s motherboard last longer.
Success in replacing capacitors depends on accurate diagnosis, safety, and quality parts. Keeping your motherboard in good shape and fixing capacitor problems quickly can save you from expensive repairs. Always think about your comfort and skills before starting a DIY project.
Whether you do it yourself or get help from a pro, this guide is useful. It helps you understand capacitors and how to replace them. This way, you can keep your computer running smoothly and efficiently.
FAQ
Can I replace a motherboard capacitor myself?
Yes, you can replace a motherboard capacitor by yourself. But, you need some technical skills and the right tools. It’s a DIY project that requires careful diagnosis and safety precautions.
How do I know if a motherboard capacitor is faulty?
Look for signs like bulging, leakage, or discoloration. You might also see system stability issues or unexpected reboots. These could mean a faulty capacitor.
What tools do I need to replace a motherboard capacitor?
You’ll need a soldering iron, desoldering pump or wick, and replacement capacitors. Don’t forget anti-static equipment, tweezers, and a magnifying glass. Using the right tools and following safety protocols is key.
How do I properly replace a motherboard capacitor?
First, desolder the old capacitor and clean the area. Then, solder in the new one. Always follow step-by-step instructions and be careful to avoid damage.
What can I do to prevent future motherboard capacitor issues?
To avoid future problems, follow maintenance tips. Make sure your system is cool and well-ventilated. Use high-quality parts and check your motherboard regularly for signs of capacitor failure.
You can read more how-to guides by clicking here.
Or you can check out our apps on the Play Store:

